As cryptocurrency adoption continues to grow, securing digital assets has become more important than ever. Online wallets and exchanges are often vulnerable to hacking, phishing, and data breaches. This is where hardware wallets come in. Trezor.io/start is the official setup gateway for Trezor hardware wallets, designed to help users initialize their devices safely and correctly.
This guide explains everything you need to know about Trezor.io/start, including what it is, how it works, why it matters, and how to use it properly to protect your crypto assets.
Trezor.io/start is the official onboarding page provided by Trezor for setting up a new hardware wallet. Instead of installing random software or trusting third-party websites, users are directed to this page to ensure a secure and authentic setup process.
The page acts as a step-by-step guide that helps users:
By using Trezor.io/start, users reduce the risk of downloading malicious software or falling victim to scams.
In the cryptocurrency space, phishing attacks are common. Fake websites often imitate legitimate wallet services to steal private keys or recovery phrases. Trezor.io/start ensures that:
Using unofficial setup guides or software can permanently compromise your funds. That is why Trezor strongly recommends beginning only at Trezor.io/start.
Trezor.io/start supports all genuine Trezor hardware models, including:
During setup, the website automatically detects your device and provides instructions tailored to your specific model, ensuring compatibility and accuracy.
Before connecting your device, check that:
If anything looks suspicious, do not proceed with the setup.
Using the USB cable provided, connect your Trezor device to a computer or laptop. Mobile devices are generally not recommended for initial setup, as desktop environments offer better security control.
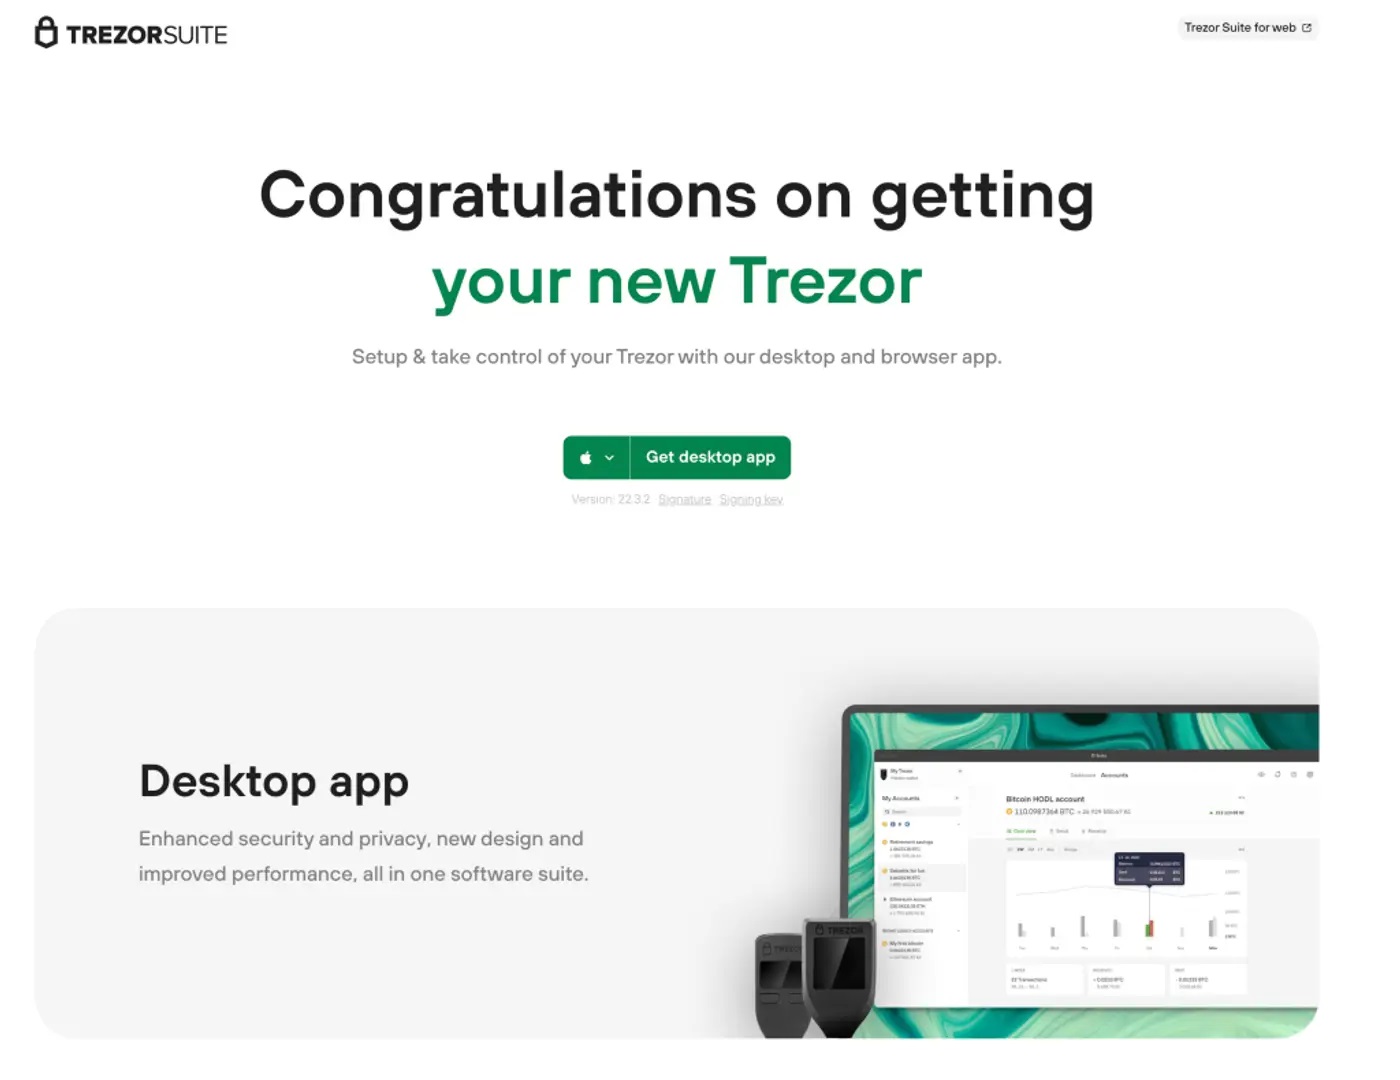
Open a web browser and manually type Trezor.io/start. Avoid clicking ads or third-party links. The page will guide you to install the official interface needed to manage your wallet.
This is where you may be prompted to install the Trezor Suite app, which acts as the secure dashboard for managing assets, transactions, and settings.
New Trezor devices do not come with pre-installed firmware. Trezor.io/start will prompt you to install the latest official firmware directly from Trezor.
This step ensures:
Firmware installation is cryptographically verified and safe when done through the official page.
At this stage, you can choose between:
If creating a new wallet, your Trezor device will generate a recovery seed phrase (usually 12 or 24 words). This phrase is the only backup to your wallet and must be stored offline.
Trezor.io/start emphasizes the importance of recovery phrase security. Best practices include:
If someone gains access to your recovery phrase, they gain full control of your funds.
To protect against physical theft, you will be asked to set a PIN code. Each time the device is connected, this PIN must be entered.
The PIN system is designed to resist brute-force attacks by increasing delay after incorrect attempts.
Once setup is complete, you can begin managing your cryptocurrencies through the official interface. From there, users can:
While the Trezor wallet functionality is integrated into the interface, all sensitive operations still require confirmation on the physical device, ensuring maximum security.
Trezor devices support a wide range of cryptocurrencies, including:
Support continues to expand through firmware and software updates accessed via Trezor.io/start.
Trezor hardware wallets are known for their strong security model. Key features include:
Because transactions must be approved on the physical device, even compromised computers cannot steal funds.
When setting up via Trezor.io/start, avoid these common errors:
Following official instructions carefully significantly reduces risk.
Security is an ongoing process. Trezor.io/start remains relevant even after initial setup, as it directs users to:
Keeping your device updated ensures protection against newly discovered vulnerabilities.
Trezor.io/start is more than just a setup page—it is the foundation of a secure crypto storage experience. By guiding users through verified steps, authentic software installation, and essential security practices, it helps eliminate many risks associated with digital asset management.
Whether you are new to cryptocurrency or an experienced investor, starting at the official setup page ensures your assets remain under your control. When used correctly, a Trezor hardware wallet provides peace of mind, strong security, and long-term protection in an increasingly digital financial world.